In this post, I am going to share how I built my own Deep Learning Computer and show you how you can build a Deep Learning Computer for yourself.
I am going to talk about various parts to get and how to make sure they are all compatible with each other.
Finally, I am going to talk about how to get the parts and prices.
GPU
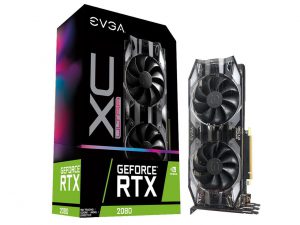
When it comes to GPU, there is usually only one option, which is Nvidia. So, the choice is easy. You want to get either 1080ti or 2080 RTX; my personal preference is 2080, which is the latest model. The funny fact is for some reason, older model 1080ti seems more expensive than the newer model—2080.
This is one common issue I found for most of the components. Models one version behind the latest ones are apparently more expensive. It is likely because manufacturers stopped producing them.
To me, it didn’t make any sense to pay more than 1,000 dollars for 1080xti, when I can get RTX 2080 for $800, which is a newer model.
If you want to spend money, you can get RTX 2080Ti or Titan for better performance.
CPU
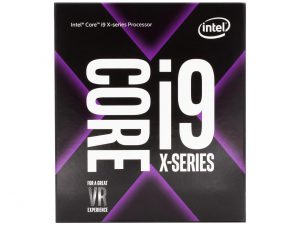
Here is where you have to be a little careful. As each GPU needs 16 PCIe lanes to work optimally, if you are using one GPU, make sure your CPU has at least 16 PCIe lanes; perhaps more for other components.
If you are going to go with two GPUs, then you need at least 32 PCIe lanes, just for GPUs.
A lot of Intel processors are 16 PCIs lanes, except X series and Xeon. I was actually looking for i9-7900X, which has 44 PCIe lanes, but I ended getting i9-7940X; because I could find it cheaper. This again is odd, where newer models cost less. This is the case with both GPU and CPU.
You can also go with AMD processor, like Thread ripper, which is very good. But, Intel(R) Math Kernel Library for Deep Neural Networks (Intel(R) MKL-DNN) is optimized specifically for Intel architecture; so, keep that in mind.
Motherboard
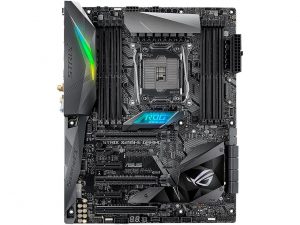
Any motherboard with x299 chipset should be compatible with Intel X processors. I looked at 3 motherboards from ASUS, X299 Mark1, X299 Mark2 and Strix X299 E gaming. I ended up getting Strix X299 E gaming, only because it comes with WiFi.
Whatever you get, make sure it has LGA 2066 socket to be compatible with the X CPU, supports 44 PCI lanes, and supports SLI. SLI is important for multiple GPUs to work together. See the above link for more details on SLI.
Storage
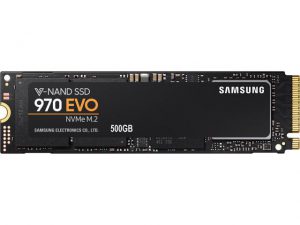
I used 2-tier storage, an SSD for operating system and programs. A hard drive for data. For SSD, get NVMe PCIe M.2. NVMe gives very fast speeds, compared to SATA. I went with Samsung 970 EVO M.2 NVMe.
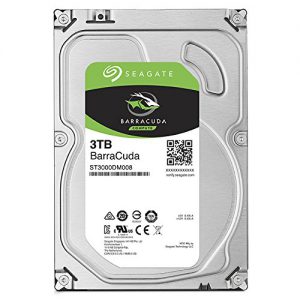
For HD, I chose Seagate 3TB Barracuda SATA 6Gb/s 64MB Cache.
Memory
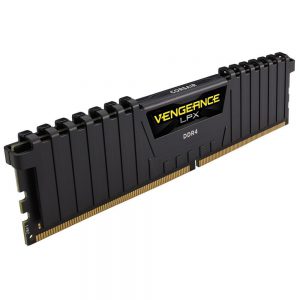
When it comes to memory, there are 2 facts to keep in mind: One is clock speed and the other is CAS Latency; the lower the latency, the better it is. I got two 16-GB C15s with 3000-MHz clock speed.
Power Unit
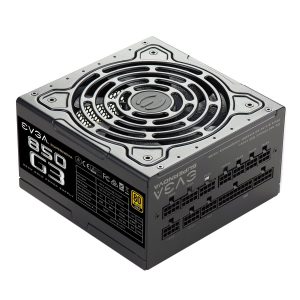
EVGA Supernova 850 G3, 80 Plus Gold 850W, Fully Modular, Eco Mode with New HDB Fan.
Case
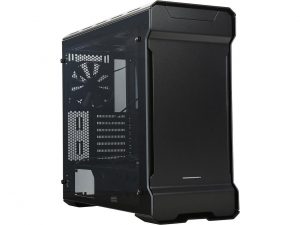
Phanteks ENTHOO EVOLV Mid Tower ATX. This is a very good looking case for the price. It comes in 3 different colors: black, gray, and silver. If you want a bigger case, you can go with a full tower. In my opinion, Mid Tower is more than enough.
Cooling
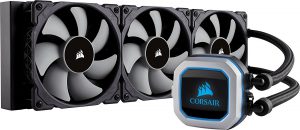
If you are planning on overclocking, I recommend cooling. When it comes to cooling, you have 3 main options: Air cooling, AIO (All in one), or liquid cooling. I would recommend going with either air cooling or AIO for ease of installation and maintenance. I ended up getting Corsair H150i.
Whichever cooling system you get, make sure it is compatible with your case.
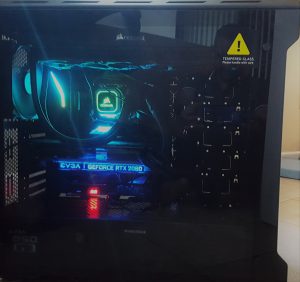
Here is the final build
Final Thoughts
For each part, I would recommend checking multiple sites. I checked 3 sites for my parts, www.amazon.com, www.newegg.com and www.b&h.com.
Sometimes prices are vastly different from site to site. For my CPU, I noticed $200 difference between sites. Also, check for deals, and some sites have deals that combine multiple parts together for a better price.
Make sure all the parts are compatible with each other. You can use https://pcpartpicker.com/ and https://www.tomshardware.com/ for this issue. I used pcpartspciker extensively, they have great forums and completed building sections with various configurations.
Check out my completed build in PC parts picker
Finally, here are the parts and configuration for my build.
Happy building your own Deep Learning Computer!
